
We got the beautiful HAI flatiron free in exchange for an honest review all opinions are our own.
As we all know I like to play with my hair. You will never know what style or color it will be next time you see me. I am very picky about the hair tools and products that I use. I do enough damage to my hair so I need to go quality with the items that I pick.
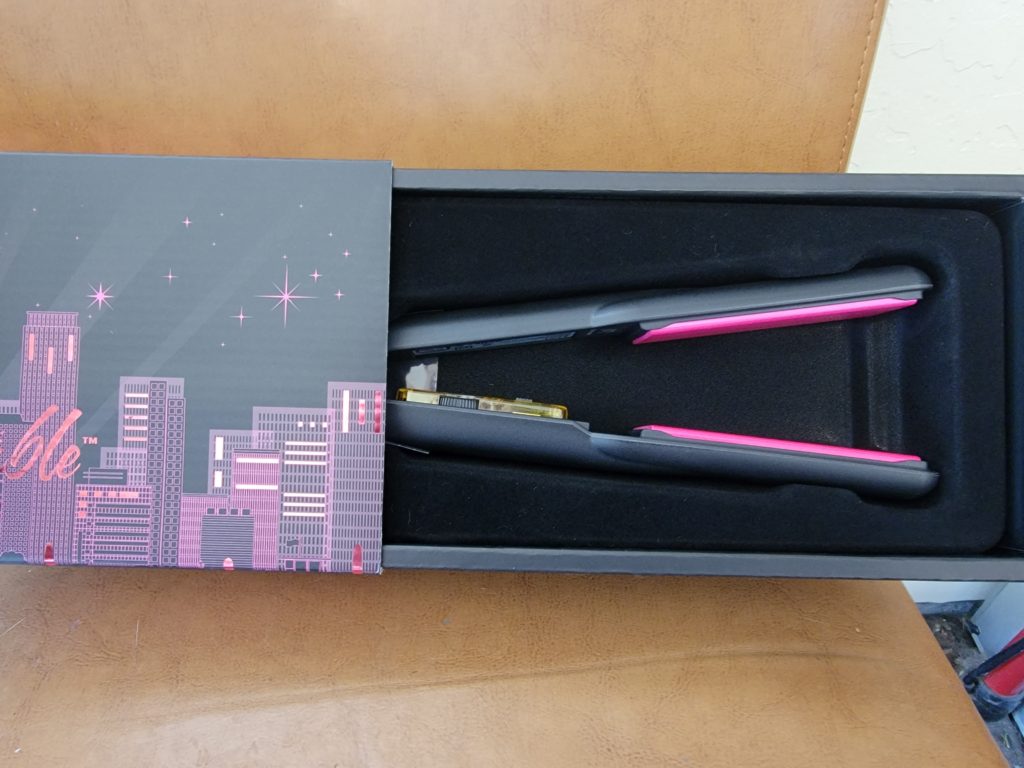
Now just because I am picky does not mean that I am willing to break the bank to get the hair I want. I want great products and tools at a great price and the HAI flatiron is a must have on my lift. I loved that when I wanted to straighten my hair it was not only quick it did not burn my hair in any way. I did not have to go over the strands of hair 10 times to get the straight look.
if you are looking for a great gift this Holiday season make sure to check out the HAI flatiron and it wont break the bank
Finally, an “effortless look” that only requires a teensy bit of time and a flatiron.

3 Easy Hacks for a Beachy Wave
That “perfect day on Oahu” look, a carefree surfer popping out of the waves, and her hair is somehow instantly sculpted by salt and wind and sun into actual goddess hair. We all want it, but most of us don’t live on the beach, and frankly, our hair just does not do that. Luckily, it is an easy enough style to achieve with just a straight iron and some product, leaving us plenty of time for more important things, like considering surfing lessons.
- Before you start – Make sure your hair is clean and fully dry before you start. Yes, we are using a straightener to un-straighten our hair, but don’t go full opposite day. You’ll want to completely blow dry, then follow up with a heat protection product to seal and protect the follicles. The Pink Convertable Flatiron from Hai Beauty Concepts features an Ionic Mineral Complex™ which generates negative ions that infuse moisture deep into the cuticle for added shine. If you get sizzled burnt ends, you did this part wrong.
- Method 1- The Vespa. Start by separating strands into one-inch sections. Hold it horizontally out from your head, and apply the straightening iron a few inches from the roots. Now pretend that you are on a rented scooter, cruising the beach, and also pretend that you are good at riding them and will never ever have an embarrassing crash. Adjust the temperature control from 250°F for fine hair up to 450°F for thick, multi-textured hair As you slowly slide the iron down the strand, gently turn your wrist back and forth like you would rev a bike. It is really helpful to have an iron with a swiveling cord for this part. Continue saying “vroom vroom” until done.
- Method 2- The Lazy Braid. It feels like pulling a fast one on your own hair. Start by simply braiding your hair; low effort is okay, but the more you section and braid the more defined your curls will be. You can make this process even easier by enlisting a child that likes braiding hair while you enjoy some mimosas, but some people may get judgy. Spray on some heat protectant and then run down the braids with the iron a few times. The Tri-Diamond™ Ceramic plates in the Hai Pink Convertable are great for this because they glide more easily over the twisted strands. Let it cool, undo the braids, and boom, easy waves.
- Method 3- S is for Snake. Start with one-inch sections, and start a few inches from the roots. As you slowly glide the iron down, start bending the stand back and forth in an undulating pattern, bending every two inches or so. You’ll want to start with a lower temperature until you feel comfortable with this method, so it’s important to get an iron with excellent heat control. It is also vital to get an iron that glides smoothly, which is why stylists recommend ceramic. You do not want your hair to snag while trying this! Any of these methods should help you achieve the perfect beachy wave and leave plenty of time to shop Amazon for a cute surfboard you will never learn to use.